Low Budget stage lighting:
The purpose of this system is to provide a cheap but versatile lighting method to small or mobile theater companies.
Claims:
1 - An infinite amount of light transitions without a computer program or switchboard
2 - Dimmable lights without dimmers
3 - Infinite color space - limited only by the spectrum of your light
4 - a simple control system that a child could operate
5 - As cheap as the world economy will allow for.
2 - Dimmable lights without dimmers
3 - Infinite color space - limited only by the spectrum of your light
4 - a simple control system that a child could operate
5 - As cheap as the world economy will allow for.
Materials- Please read the simplified version first - I wrote the universal section as this concept can be extensively expanded.
(simplified language // universal)
1 - A lightboard // A light source
2a - A video Projector // A system of projecting light
2b - A camera (adapted to connect live with the projector)
3 - Two polarizers // a system of cross polarization
4 - Transparency paper // Birefringent materials
2a - A video Projector // A system of projecting light
2b - A camera (adapted to connect live with the projector)
3 - Two polarizers // a system of cross polarization
4 - Transparency paper // Birefringent materials
Procedure -
Part 1 - Transmit your light through the projection system across your complete stage.
Simplified example:
A - Turn on your lightboard
B - Direct your camera towards the lightboard so the entire frame is full of light. (This is your controlled working space)
C - Connect your camera to a digital projector.
D - Turn on your digital projector and position it to cover your playing area. (This is also your expanded working space)
B - Direct your camera towards the lightboard so the entire frame is full of light. (This is your controlled working space)
C - Connect your camera to a digital projector.
D - Turn on your digital projector and position it to cover your playing area. (This is also your expanded working space)
Part 2 - Polarize your light source.
Simplified example:
A - Add a sheet of polarizer to the surface of your lightboard.
B - Secure it with some acrylic sheeting or glass to prevent scratching. (Note - glass and acrylic are isotropic and transparent materials)
B - Secure it with some acrylic sheeting or glass to prevent scratching. (Note - glass and acrylic are isotropic and transparent materials)
Part 3 - Cross polarize your projection system.
Simplified example:
A - Add a polarizing filter to your camera. Rotate the filter until the light appears black in the camera. Either tape a polarized filter sheet to your lens or you can buy a special polarized filter for cameras. The effect is the same, commercial polarizer filters are easier to turn and are more secure than tape.
Part 4 - Add Birefringent materials between the polarizers.
Simplified Example:
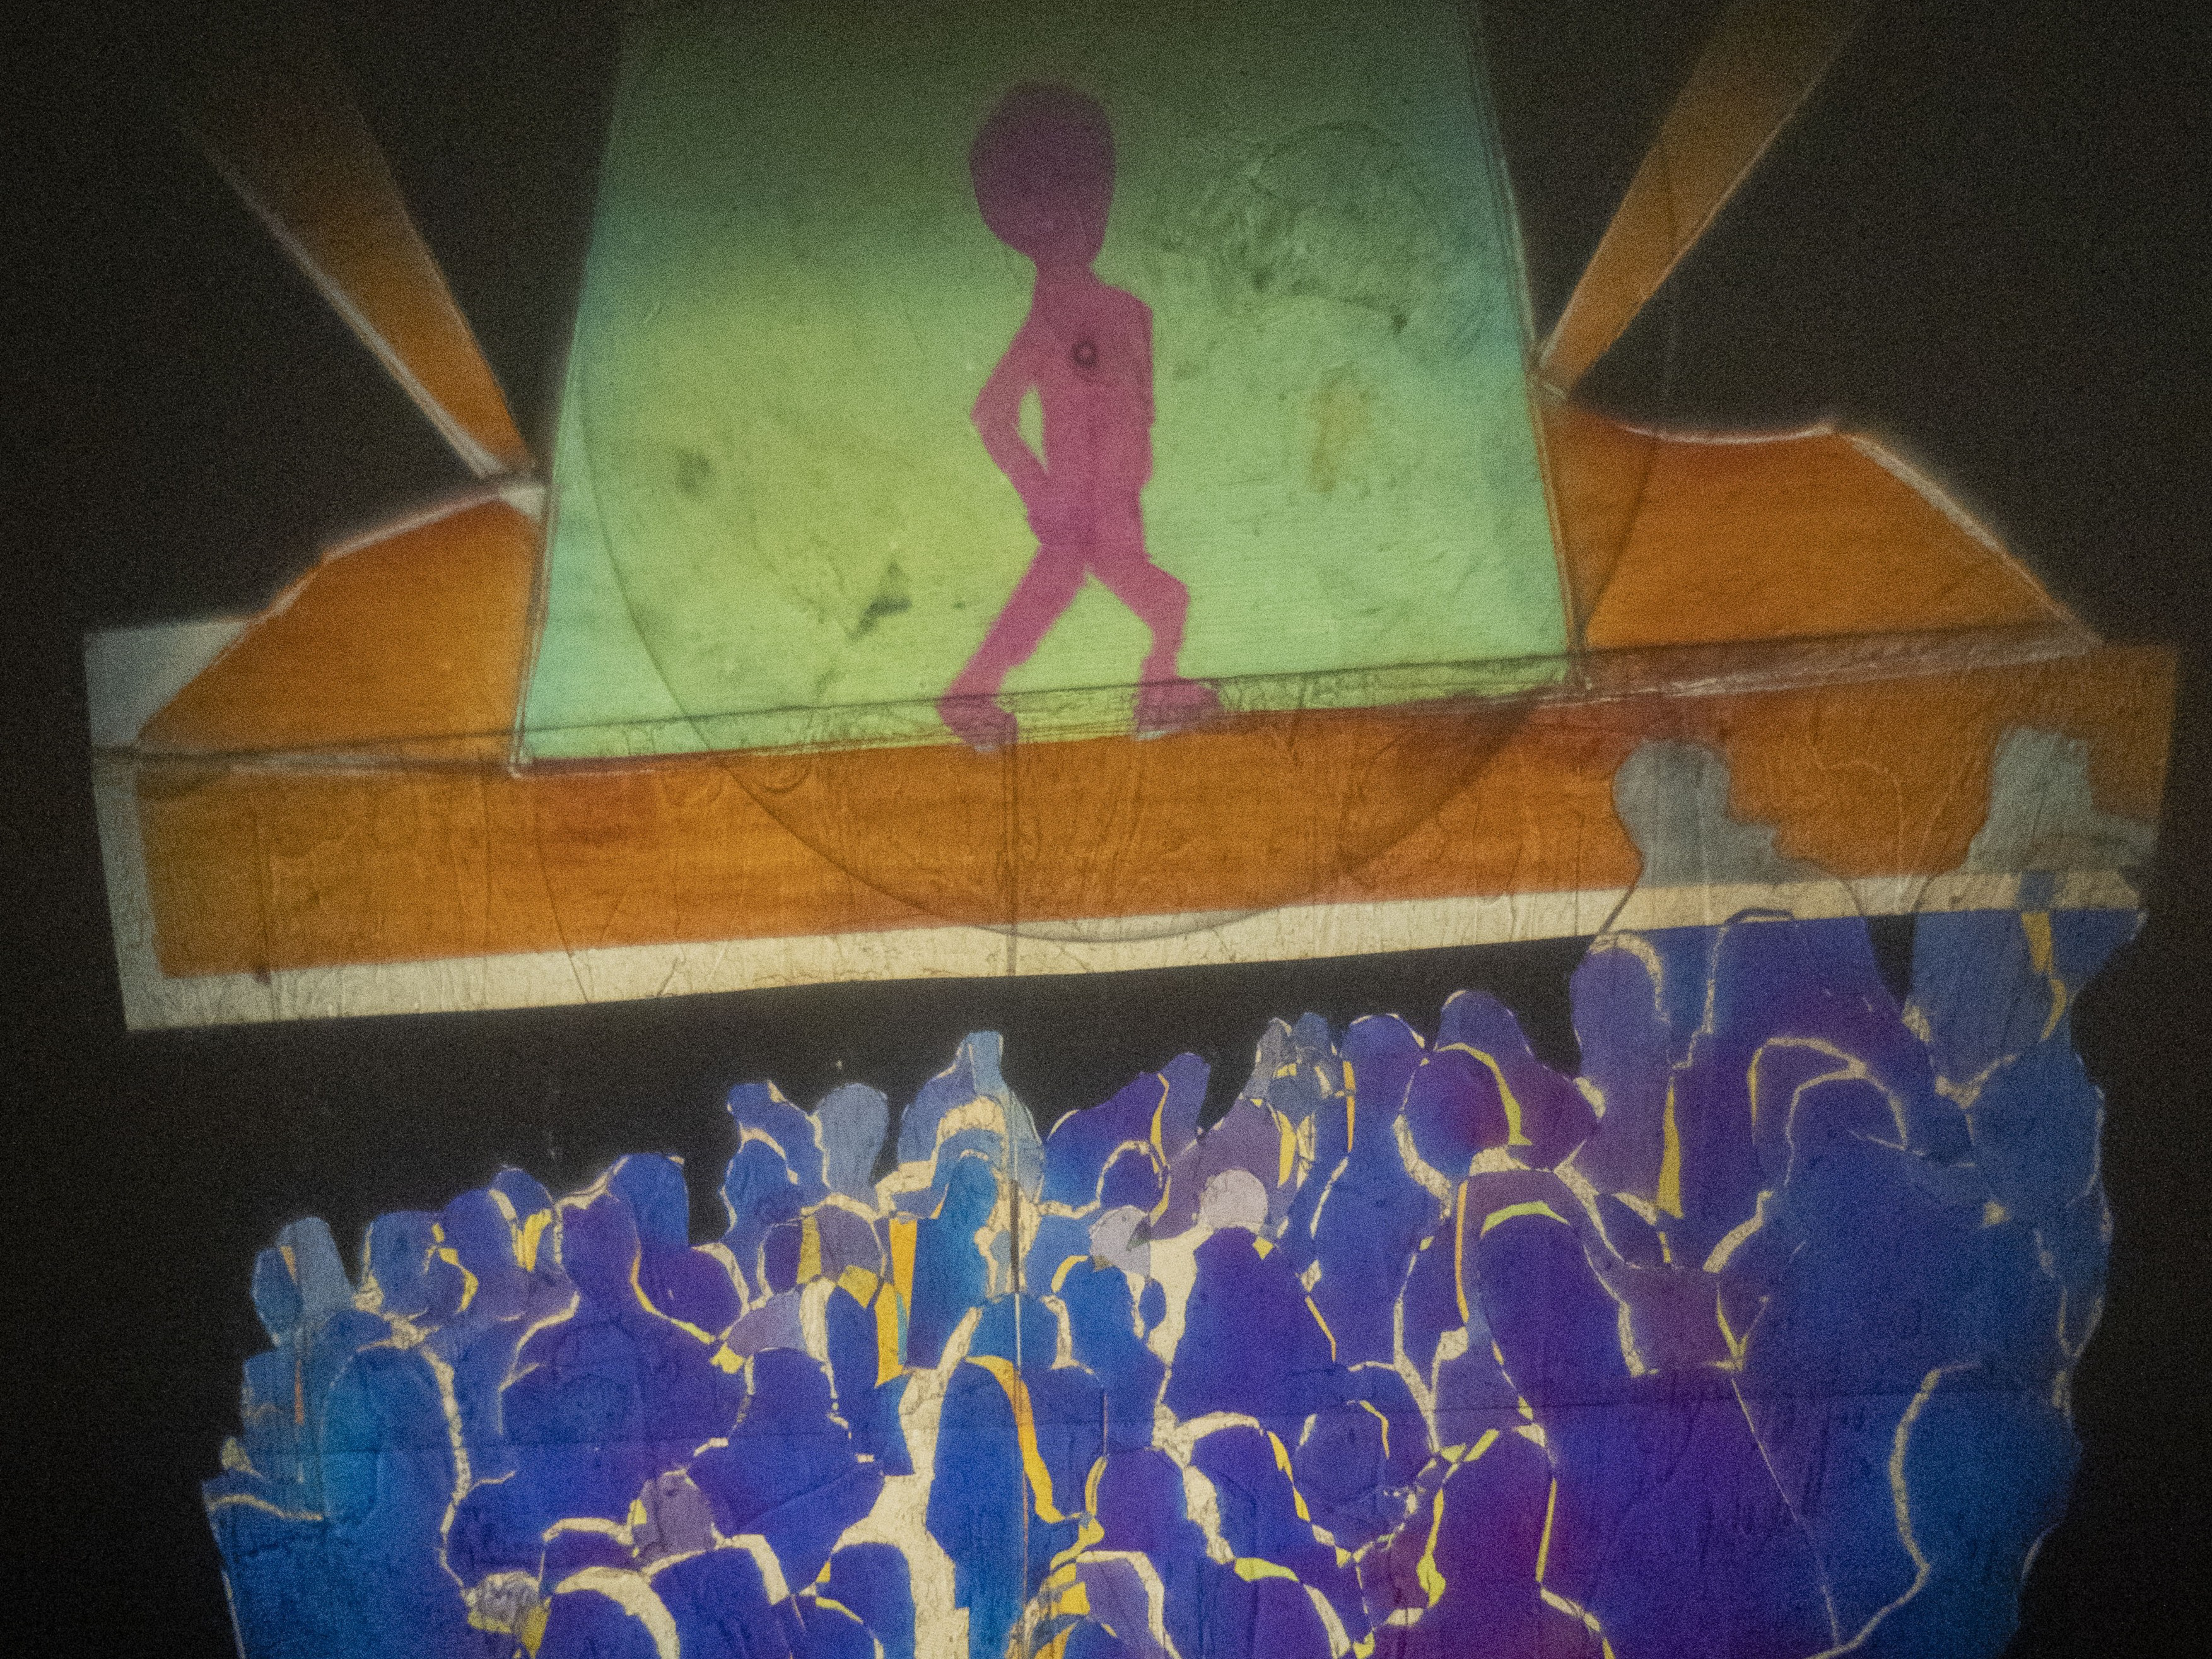
A - Start with a sheet of transparency paper, cut a circle and place it on your lightboard.
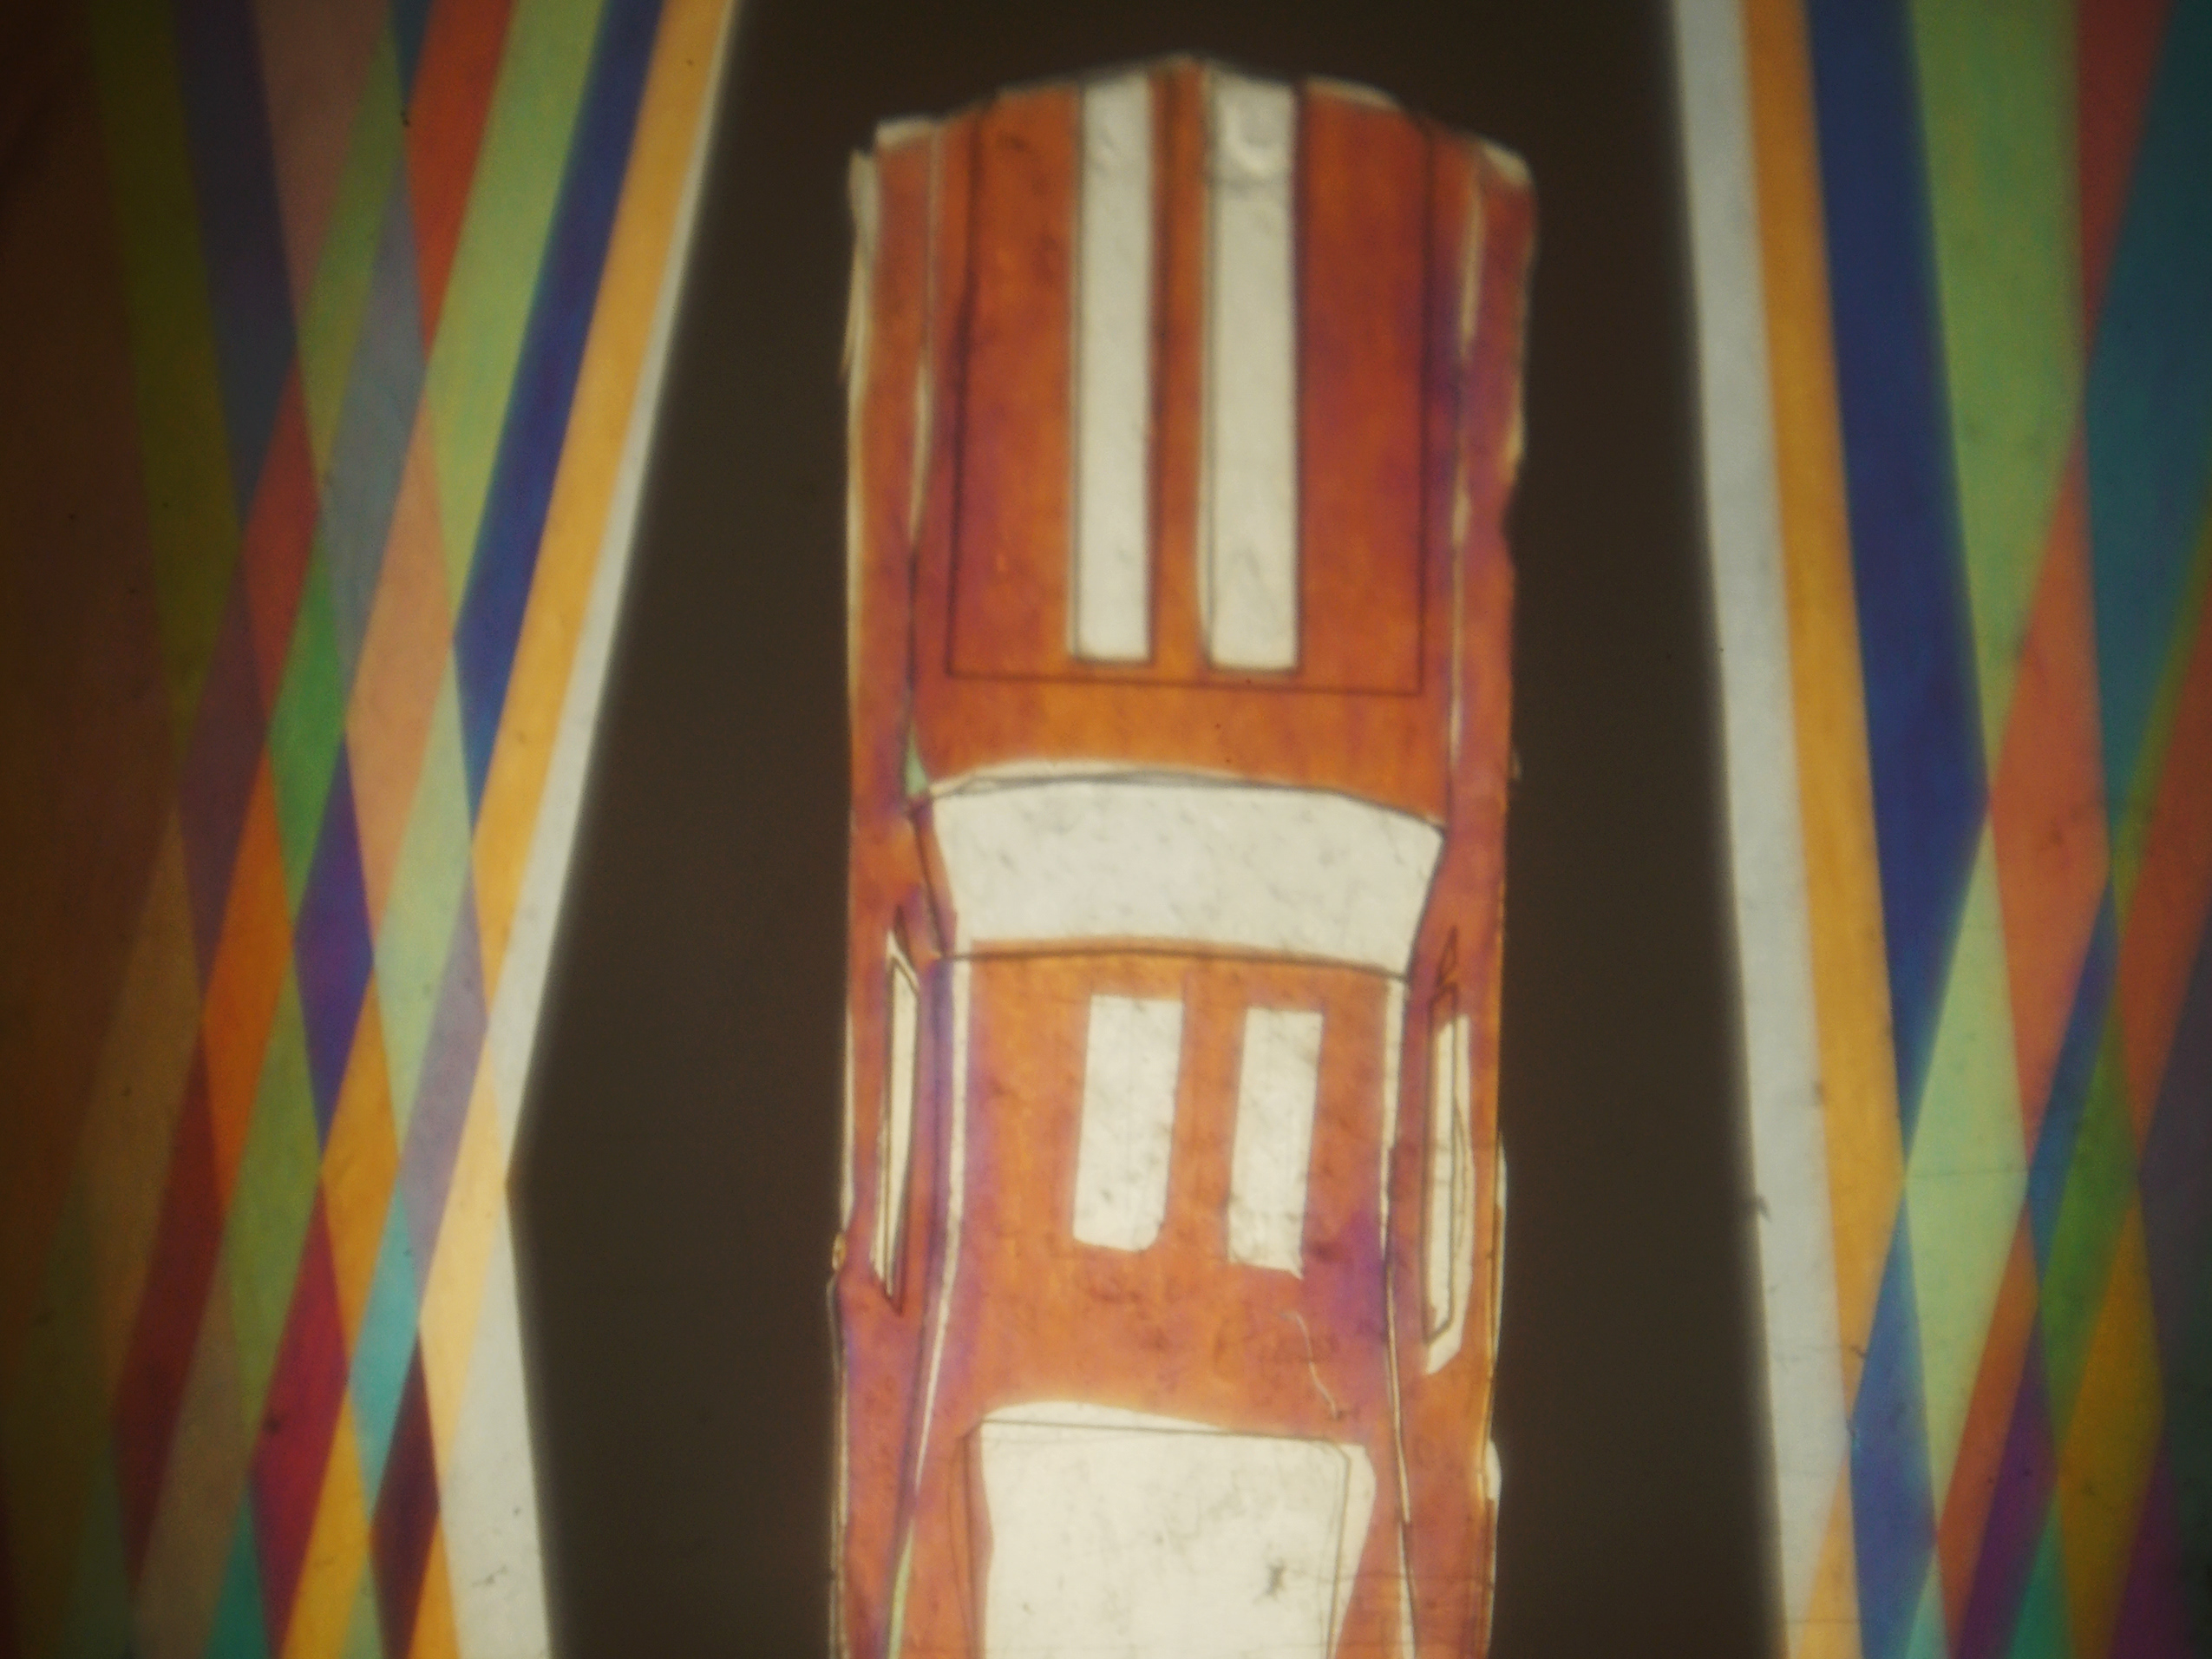
B - Observe the circle appear as a beam of light on stage.
C - Rotate the circle.
D - Observe the beam of light fading dimmer and brighter
E - Lift the circle towards the camera, out of focus...
F - Observe the light expanding, and the edge softening.
B - Observe the circle appear as a beam of light on stage.
C - Rotate the circle.
D - Observe the beam of light fading dimmer and brighter
E - Lift the circle towards the camera, out of focus...
F - Observe the light expanding, and the edge softening.
Conclusion -
The above is a broad overview of a very effective system of governing light. Start simply, the behavior of polarized light is undertaught. Note an overhead projector uses the same technique but without the latency of a video projection system. Even candle light projected with two lenses will work as a system.
Here is a list of fun birefringent materials to try:
Regenerated Cellulose (Cellophane)
Packing tape
Mica
Sugar
Epson salt crystals
Packing tape
Mica
Sugar
Epson salt crystals
Materials at different levels of birefringence produce different colors. These colors interact with each other in a precise and predictable way outside of the additive and subtractive color wheels. Michel Levy has a guide, Michael Vandergard and the Drolly Theater have a theatrically oriented guide they use for puppetry.
For lighting cues - mount birefringent materials onto cellulose acetate, acrylic or glass. Pull them on and off your lightboard.
Helpful hint - draw your stage on your lightboard with dry erase markers.